Point of Sale
The SmartPOS function provides a user-friendly interface for the purpose of in-person sales. The system can provide multiple, individual screens, referred to as "terminals". The list of items being recorded for sale is referred to as a "ticket".
Behind the scenes, the POS process actually performs all of the various actions required for a sale that are usually done one by one: For each ticket, the system builds and completes a sales order with the appropriate lines, a corresponding shipment, a corresponding customer invoice, and a customer payment record. The advantage of this is that the details for every transaction are all viewed in the same way.
To access SmartPOS, use the Sales side menu, and choose Transactions > SmartPOS in the POINT OF SALE section.
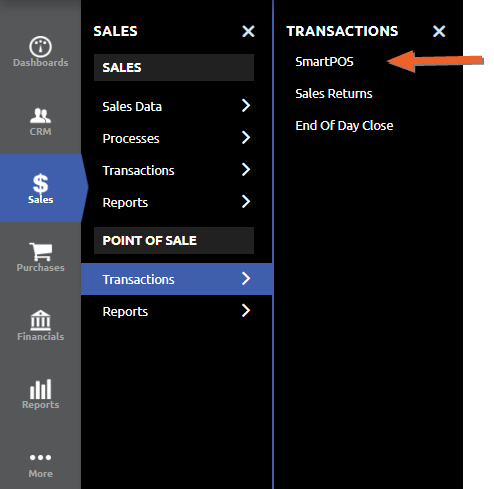
This brings you to the initial landing page, which allows you to select which Terminal to enter (if you have access to more than one), and to view any open tickets that remain within that Terminal:
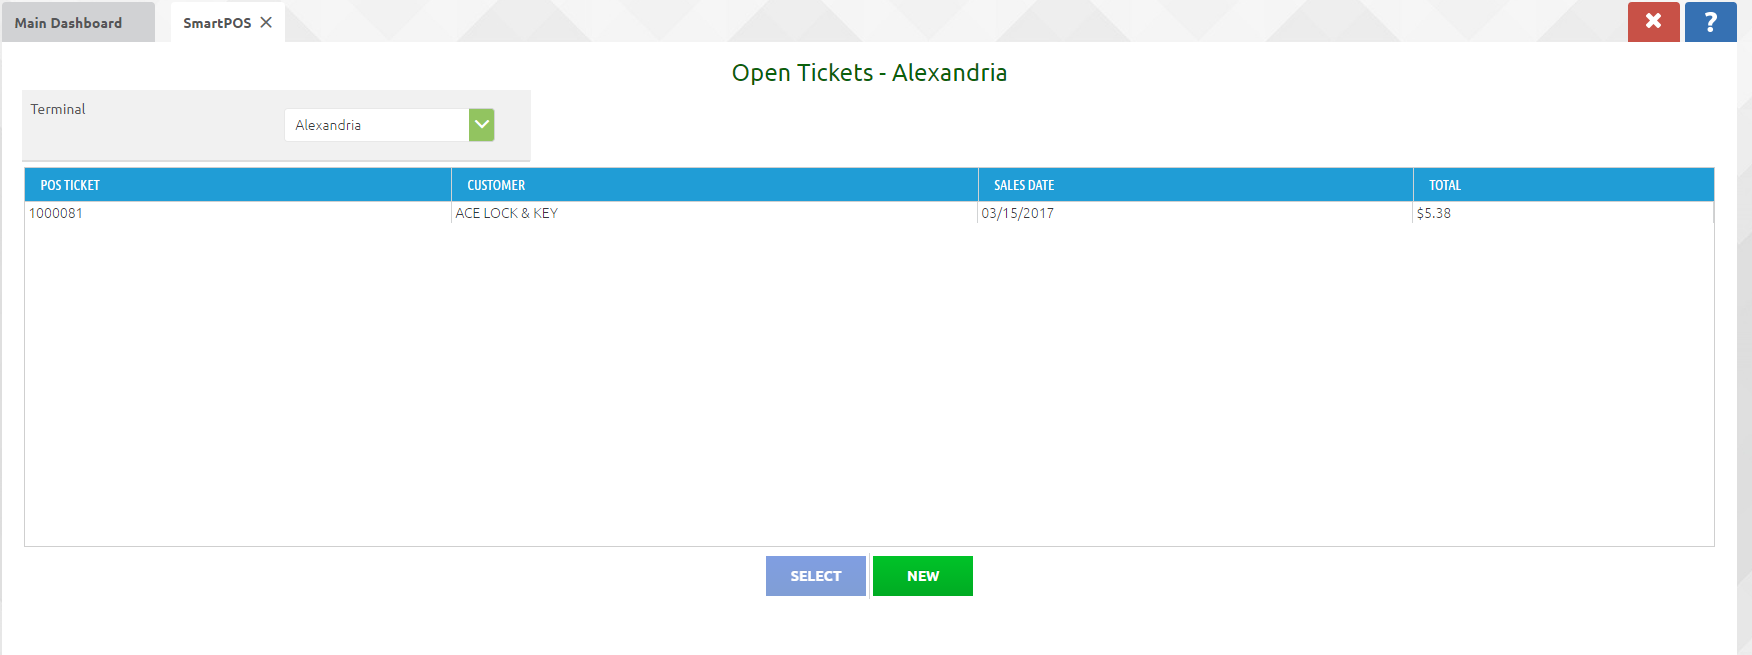
If there are any existing tickets, you can select them by double-clicking, or highlighting the one you would like and clicking the SELECT button at the bottom of the page. The process from that point will be the same as for creating a new ticket, shown below:
Creating a New Ticket (Sale)
A new ticket for a sale can be started by clicking on the NEW button, or simply double-clicking anywhere in the initial landing page. This will bring up the terminal window:
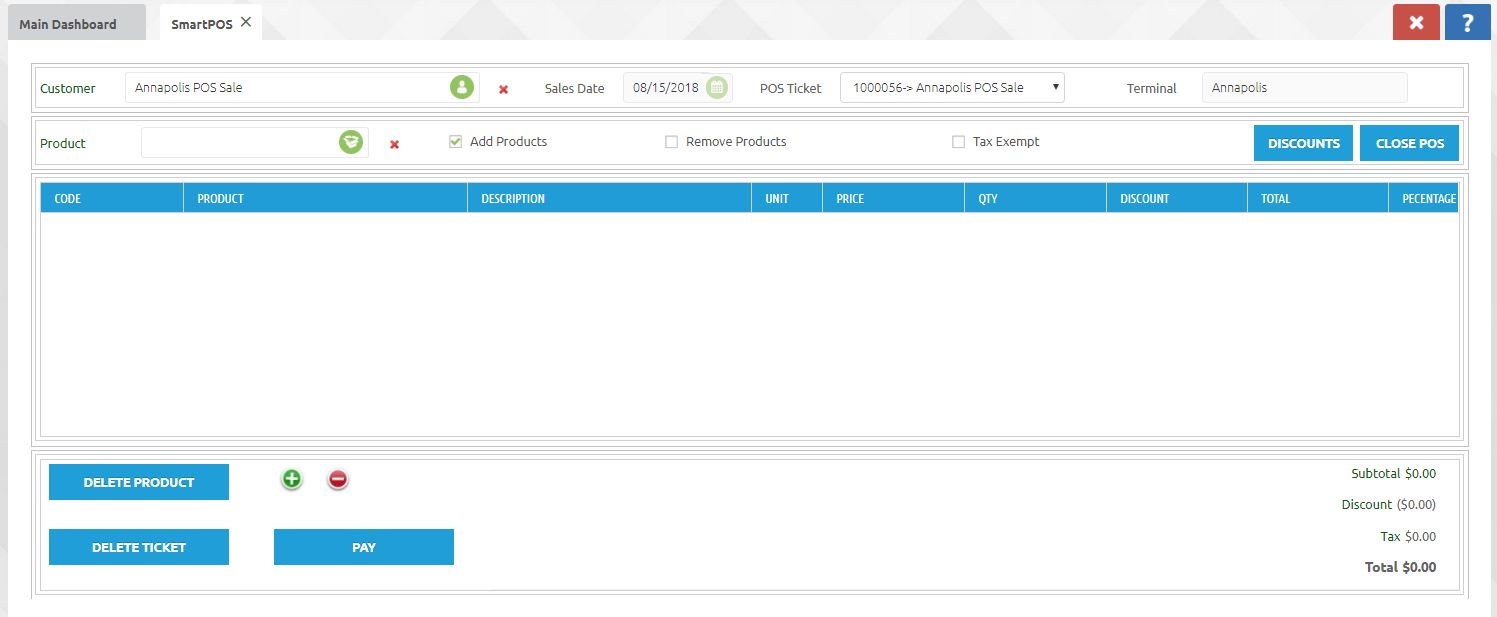
The Customer will be set to the configured default, in this case, a generic value for any customer in this store. (If your business process requires it, you could also select an individual customer name by typing the first few characters.)
Next, click in the Product field and select or scan the product to be sold. This will generate a line for that product in the terminal window.
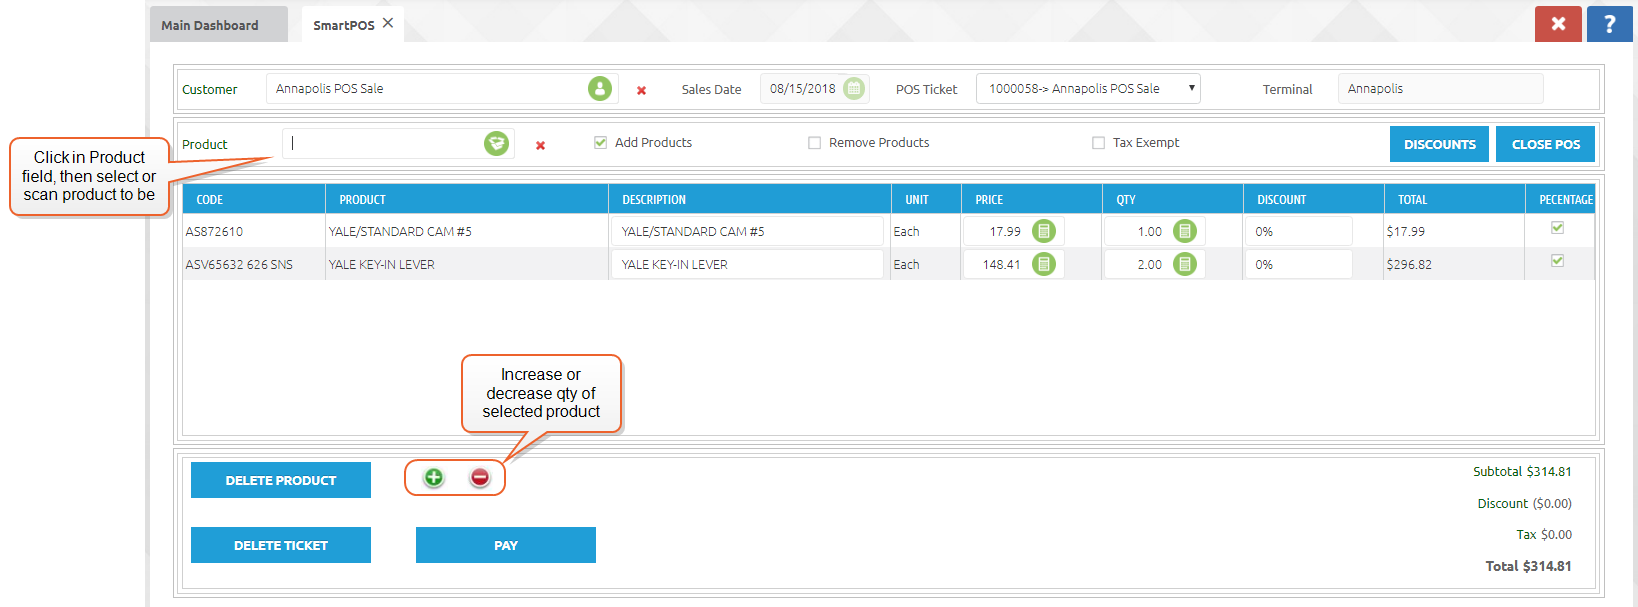
To change quantity, highlight the product and use the red and green + and - buttons. You may also manually type in the number in the QTY column. Scanning or entering the same product again will also increase the quantity for that product.
Select products or the entire order can be deleted using the corresponding DELETE PRODUCT or DELETE TICKET buttons.
If you wish to set the order aside but keep it open, for instance if the customer wishes to go get another item while you help the next customer, use the CLOSE POS button. This will return you to the initial Open Tickets screen, and that sale will be available to select and complete at a later time.
Discounts
To apply a line level discount, enter the percentage in the DISCOUNT field. If you wish to apply a dollar value discount rather than a percentage, un-check the PERCENTAGE box on the line. Discounts can also be applied by selecting the line and using the DISCOUNTS button.
Tax Exemption
Tax exempt products will be treated accordingly, but if you wish to make the entire ticket tax exempt, click the Tax Exempt box and enter the FEIN in the field that appears. (It is also possible to configure a given customer as tax exempt by default. For more information on taxes and pricing, see POS Configuration Notes.)
Payment Processing
When ready to accept payment, click the PAY button to open the payment screen. Select the Tender Type (e.g. cash, check etc.) and enter the correct value in Amount Received. When ready, click the ADD PAYMENT button. If the Tender Type is Cash, the value for correct change will be shown.
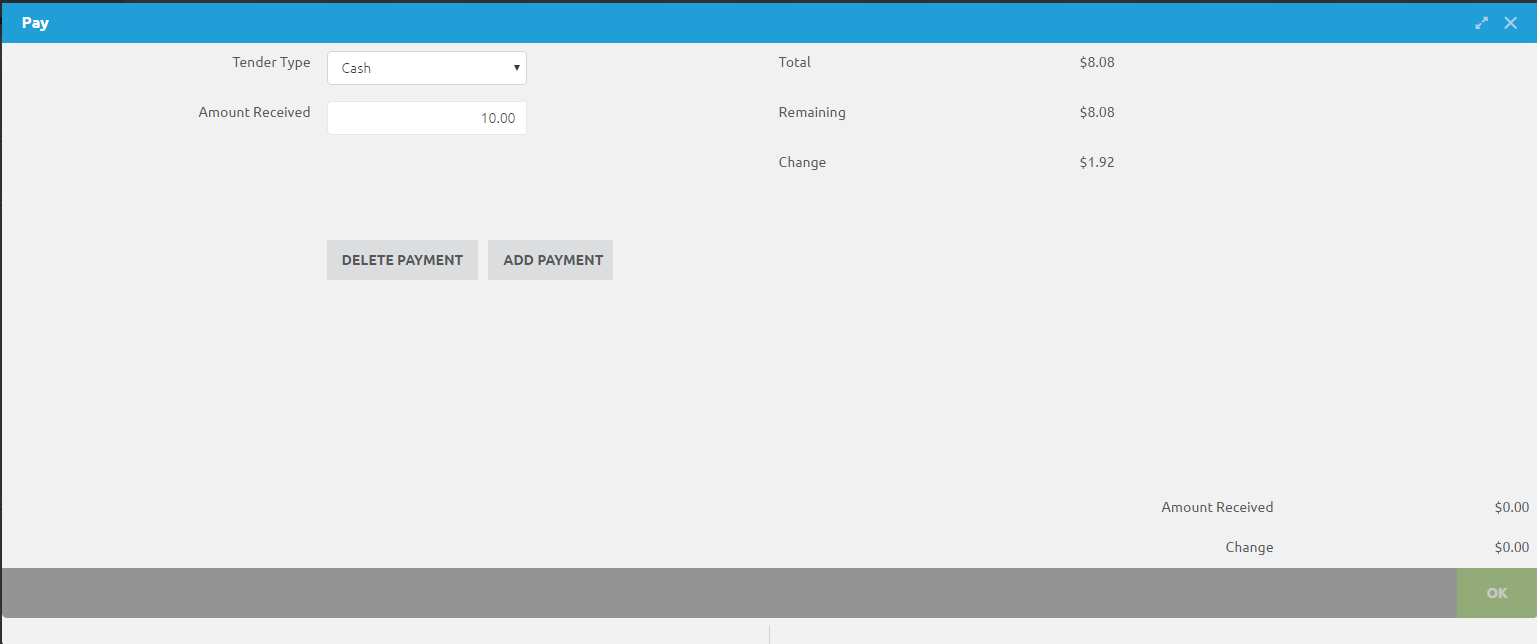
If you wish to abandon the payment in process, click the X to close the payment window. If you wish to delete a payment after clicking the ADD PAYMENT button, select the line and click the DELETE PAYMENT button.

Multiple payment in 1 ticket is allowed:
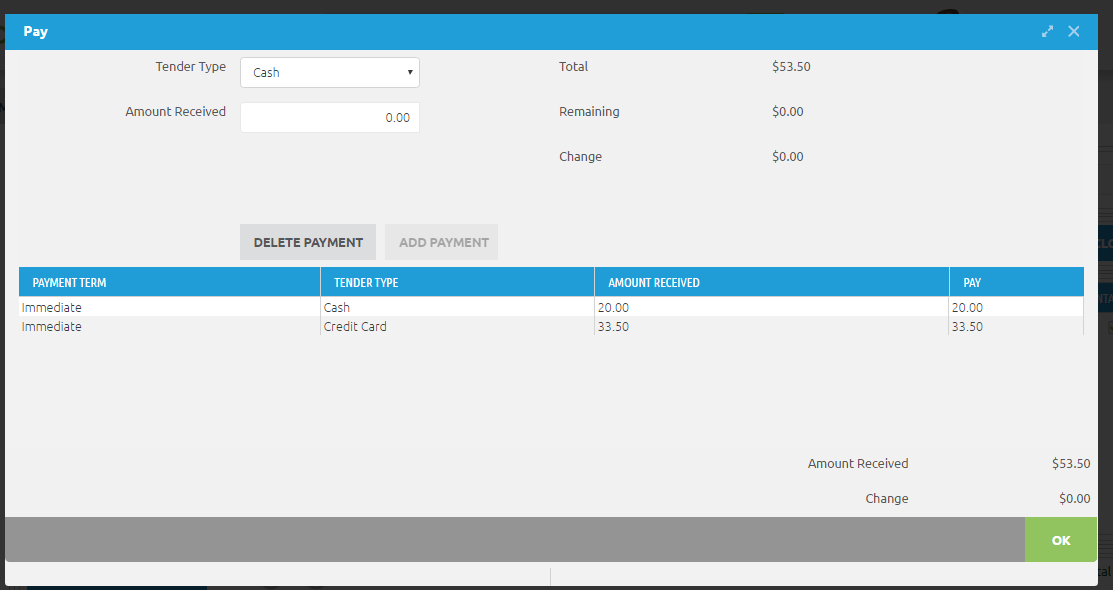
When the transaction is complete, click the OK button.
Receipt Printing
Once the OK button is clicked, the receipt will appear. Click the printer icon in the upper right corner to print the receipt.
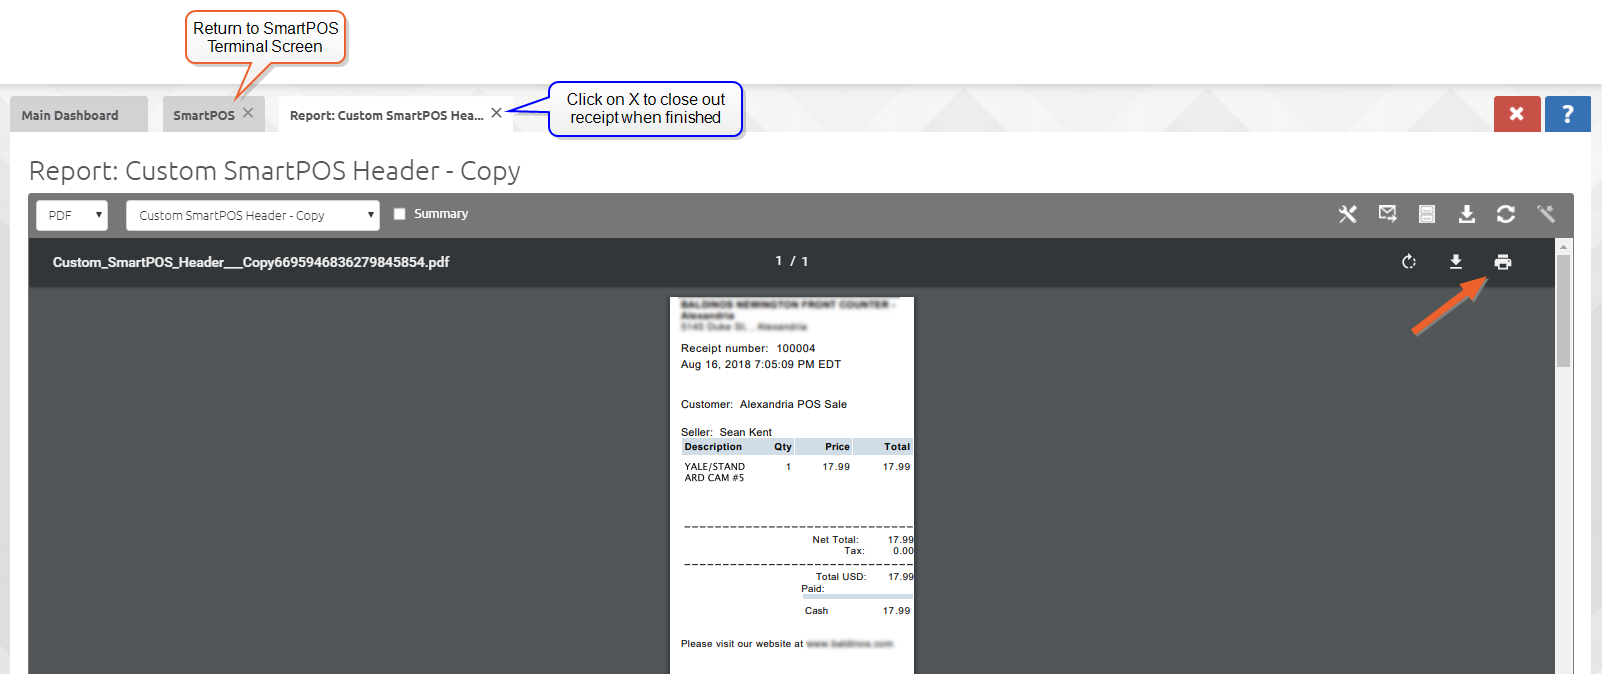
Click on the SmartPOS tab to return to the Terminal window. If you wish to clear the receipt view, click on the corresponding X on the tab.
Sales Returns
The Sales Returns application can be used to enter and process transactions for goods and services being returned from a customer.
Navigate to Sales > (Point of Sale section) > Transactions > Sales Returns
This brings you to the sales returns screen where you can enter or search for the invoice you wish to process a return against.

To search for an invoice number, select the green icon in the invoice field and the familiar Item Search Window will display. Search and select the correct invoice and click OK to continue processing the return.
Now enter the RMA Type, and select whether you want to return the item(s) to inventory. After selecting one or more line items to return to stock, you will have the ability to update the return quantity for each line.
If the ‘Affects Inventory’ checkbox is selected, an RMA product return will be created.
If not selected, only a credit memo will be created.
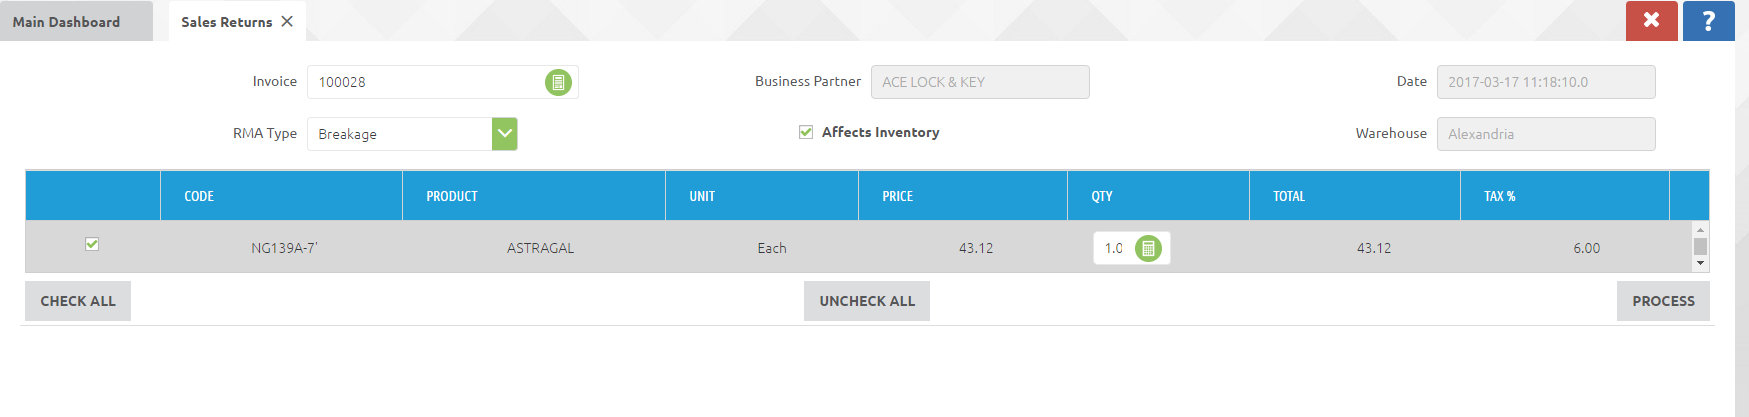
Select the PROCESS button to confirm the return transaction. This will create an Invoice having Document Type "AR Credit Memo".

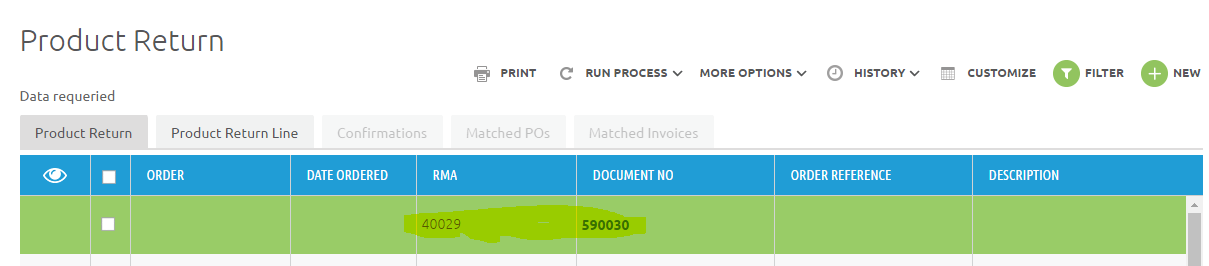
If the "Affects Inventory" box was checked, an RMA Product return will be created as well:
Cash Movements
The Cash Movement application can be used to enter and process transactions moving cash from one terminal to another.
Navigate to Sales > (Point of Sale Section) > Transactions > Cash Movements
This brings you to the cash movement screen, which allows you to select the terminal, movement type (in or out), and dollar amount that you are moving in or out of the selected terminal:
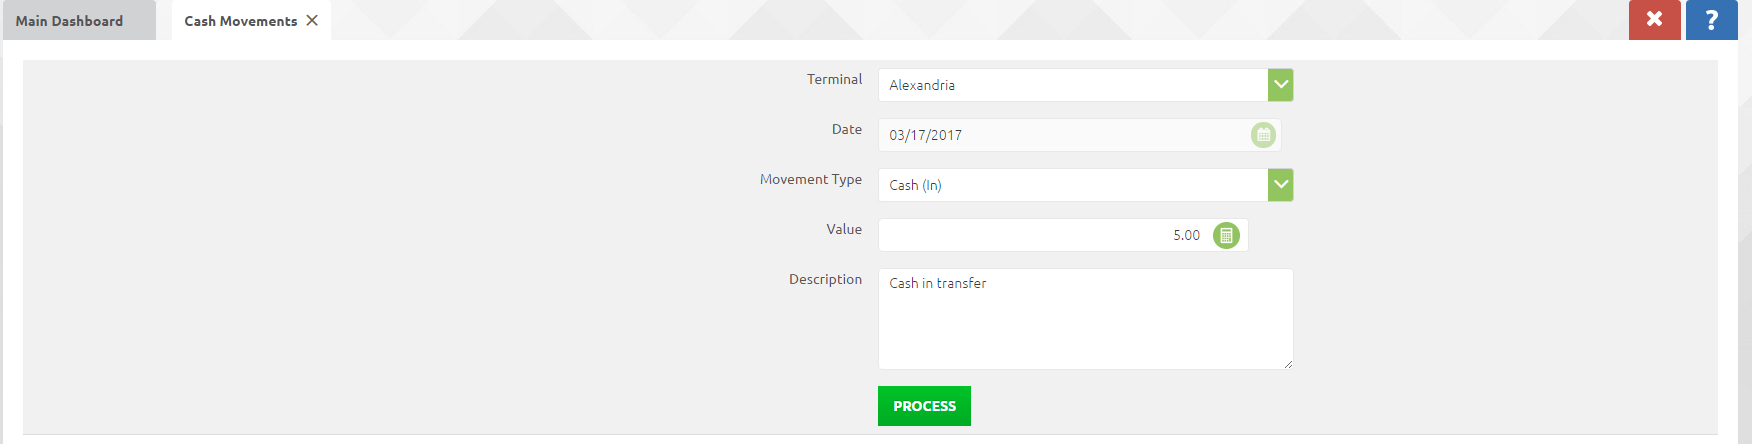
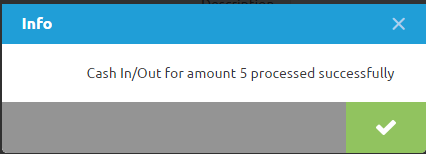
Click the PROCESS button to complete the transaction:
End of Day Close
The End of Day Close application can be used to close out and reconcile cash transactions for a specified terminal. To perform the close, navigate to Sales > (Point of Sale Section) > Transactions > End of Day Close
From this screen, select the Terminal that you wish to close out. The end day date defaults to the current date & time, and the start day date defaults to last date / time that the selected Terminal was last closed.
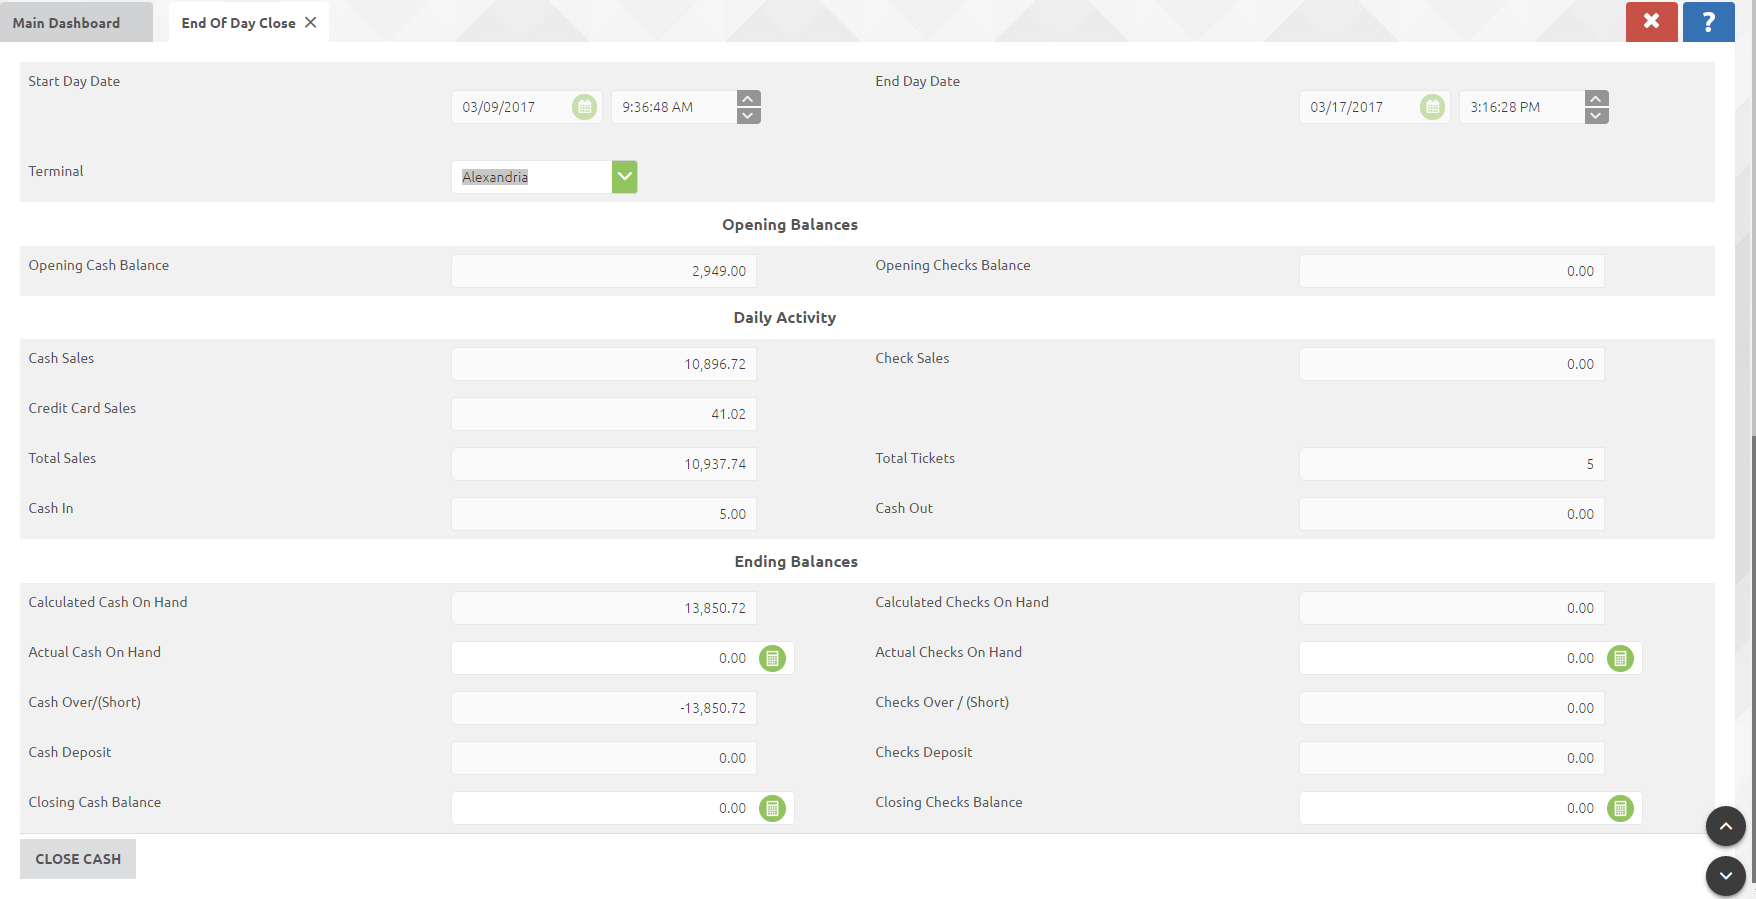
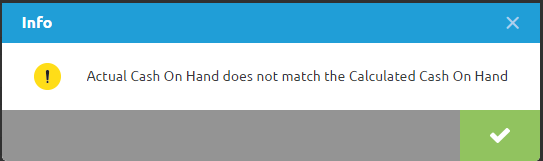
Users may then enter the "Actual Cash On-Hand" and "Actual Checks On-Hand" for the selected Terminal, and the system will calculate the ‘"Over / (Short)" amount and the "Closing Cash Balance" amount. The terminal can be closed out with over / short amounts existing.
If the actual entered cash on hand varies from the calculated amount an informational message will display.